

Imagine walking into your kitchen and being greeted by sparkling surfaces, fresh scents, and a sense of order. A deep clean can transform your kitchen into a sanctuary of cleanliness and efficiency.
But, where do you start? You’ve probably thought about deep cleaning your kitchen but felt overwhelmed by the task. You’re not alone. Many people put off this chore because it seems like too much work. Yet, the benefits are undeniable.
A clean kitchen not only looks great but also keeps germs at bay and makes cooking more enjoyable. You’ll discover how to deep clean your kitchen in 10 simple steps. You’ll find that it’s easier than you think, and you’ll feel empowered to tackle this task with confidence. As you read on, you’ll see how each step is designed to save you time and effort, making the process straightforward and stress-free. Let’s get started and transform your kitchen into the clean, inviting space you deserve.

Credit: www.acottonkandilife.com
Gather Cleaning Supplies
Start by gathering cleaning supplies like sponges, brushes, and cleaning solutions. Having everything ready makes the process smoother. This step sets the foundation for effectively tackling dirt and grime.
Deep cleaning your kitchen can feel like a daunting task, but starting with the right cleaning supplies makes a world of difference. Before diving into scrubbing and organizing, ensure that you have everything you need at your fingertips. Gathering your supplies first helps streamline the process, allowing you to focus on each task without unnecessary interruptions.1. Assess What You Already Have
Begin by checking your cupboards and storage areas. You might be surprised by how many cleaning products you already own. This saves you money and prevents unnecessary purchases.2. Create A Shopping List
Once you’ve assessed your supplies, jot down what’s missing. A simple list might include items like all-purpose cleaner, baking soda, or microfiber cloths. Having a list ensures you won’t forget anything important.3. Opt For Eco-friendly Products
Consider choosing environmentally friendly cleaning products. They’re not only good for the planet but also safer for your home. Brands like Method or Seventh Generation offer great options that are widely available.4. Gather Essential Tools
Cleaning isn’t just about the products; it’s also about the tools. Make sure you have sponges, scrub brushes, and a mop ready. These tools tackle different surfaces effectively.5. Don’t Forget Personal Protection
Protect yourself while cleaning with gloves and, if necessary, a mask. This is especially important if you’re dealing with strong chemicals. Safety first ensures a more pleasant cleaning experience.6. Repurpose Household Items
Look around your home for items that can double as cleaning tools. An old toothbrush is perfect for scrubbing grout, while vinegar mixed with water creates a powerful glass cleaner. Repurposing saves money and reduces waste.7. Organize Your Supplies
Once you have everything, organize your supplies in a caddy or basket. This keeps everything in one place and easy to transport from room to room. Efficiency is key to a quick and thorough clean.8. Prioritize Multi-purpose Products
Choose products that serve more than one purpose, like an all-purpose cleaner. These products can clean counters, appliances, and floors, saving you time and space. Simplifying your supply list can make cleaning less overwhelming.9. Keep A Trash Bag Handy
A trash bag or bin is essential during a deep clean. You’ll likely find expired food, old packaging, or other items to discard. Having a bag nearby makes disposal quick and easy.10. Reflect On Past Cleaning Challenges
Think about previous cleaning sessions. Did you run out of supplies or wish you had a specific tool? Learning from past experiences helps ensure this deep clean is your most efficient yet. Taking the time to gather all your cleaning supplies before you start ensures a smoother, more efficient kitchen deep clean. What supplies do you find indispensable for tackling your kitchen?Declutter Countertops
Clear countertops create a tidy kitchen. Start by removing all items from the surfaces. Wipe them down with a damp cloth to remove dust and grime.
Decluttering your countertops is a powerful way to transform your kitchen into an organized, functional space. It’s easy to let these surfaces collect items over time, but maintaining clear countertops can make cooking and cleaning more efficient. Plus, a tidy kitchen can bring a sense of calm and order to your home. Ready to make your kitchen a clutter-free zone? Let’s dive into the steps to declutter those countertops effectively.Gather All Items
Begin by removing everything from your countertops. This gives you a fresh perspective on what you truly need. You’ll be surprised at how many items have been left there out of habit rather than necessity.Assess Necessity
Evaluate each item and ask yourself: Do I use this daily? If not, find a new home for it in a cabinet or drawer. Keeping only essential items on display can make your kitchen feel more spacious.Find New Storage Solutions
Consider investing in storage solutions for items you rarely use but still need. Think about wall-mounted racks for spices or hooks for utensils. This frees up countertop space, keeping your kitchen tidy.Designate Zones
Create specific zones for different activities. For example, keep cooking essentials near the stove and coffee supplies near the kettle. This strategic placement can streamline your daily tasks.Limit Decorative Items
While a few decorative items can add personality, too many can make your kitchen feel cluttered. Choose one or two pieces that complement your kitchen’s style without overwhelming the space.Regular Maintenance
Once your countertops are decluttered, establish a routine to keep them that way. Wipe them daily and return misplaced items to their designated spots. This routine prevents clutter from accumulating again.Personal Experience Insight
I once realized my countertop was a magnet for mail, keys, and gadgets. By designating a specific spot for these items elsewhere, my kitchen became more inviting and functional. Have you noticed similar clutter culprits in your kitchen?Think Minimalist
Adopt a minimalist mindset. Less is often more. By prioritizing functionality over excess, you can enjoy a more efficient cooking space. What essentials do you truly need on display?Encourage Family Participation
Involve your family in maintaining clean countertops. Encourage everyone to return items to their proper places. This collective effort can sustain the decluttered environment.Reflect On The Benefits
Take a moment to appreciate the benefits of decluttered countertops. A clean kitchen not only looks better but also makes your cooking experience more enjoyable. How does your kitchen feel now compared to before?Empty And Clean Cabinets
Emptying and cleaning cabinets is a crucial step in deep cleaning your kitchen. This task ensures that every nook and cranny of your storage space is free from dust and grime. Regular cleaning keeps your kitchen organized and fresh.
Empty All Cabinets
Start by removing everything from the cabinets. This includes dishes, utensils, and food items. Place them on a clean surface. Inspect each item for damage or expiration. This helps in decluttering your kitchen.
Dust And Vacuum Interiors
Use a handheld vacuum to remove crumbs and dust. Pay attention to corners and crevices. A small brush can help with hard-to-reach areas. This step prevents pests and keeps your cabinets spotless.
Wipe Down Shelves
Mix warm water with mild soap. Dip a cloth into the solution. Wipe down shelves and doors thoroughly. Ensure you remove any sticky residue. This keeps your cabinets looking clean and smelling fresh.
Sanitize With Vinegar Solution
Prepare a vinegar-water solution. Use it to sanitize surfaces. Vinegar kills germs and eliminates odors. Spray and wipe with a clean cloth. Let surfaces dry completely before refilling.
Inspect For Damage
Look for signs of wear or damage. Check hinges and handles. Tighten loose screws if necessary. Replace broken or worn parts. This keeps cabinets functional and safe.
Organize Items
Sort items based on usage. Place frequently used items at the front. Store less-used items in the back. Use containers for small items. This maximizes space and accessibility.
Return Items To Cabinets
Carefully return cleaned items. Arrange them neatly. Ensure everything is dry before placing back. Avoid overcrowding shelves. This maintains order and ease of use.
Maintain Cleanliness
Regularly check for spills or messes. Clean immediately to prevent buildup. Weekly wipe-downs keep cabinets fresh. This prevents future deep cleaning hassles.
Set A Cleaning Schedule
Create a cleaning schedule. Stick to it for consistent upkeep. Monthly deep cleans can prevent clutter. Regular maintenance makes the process easier.
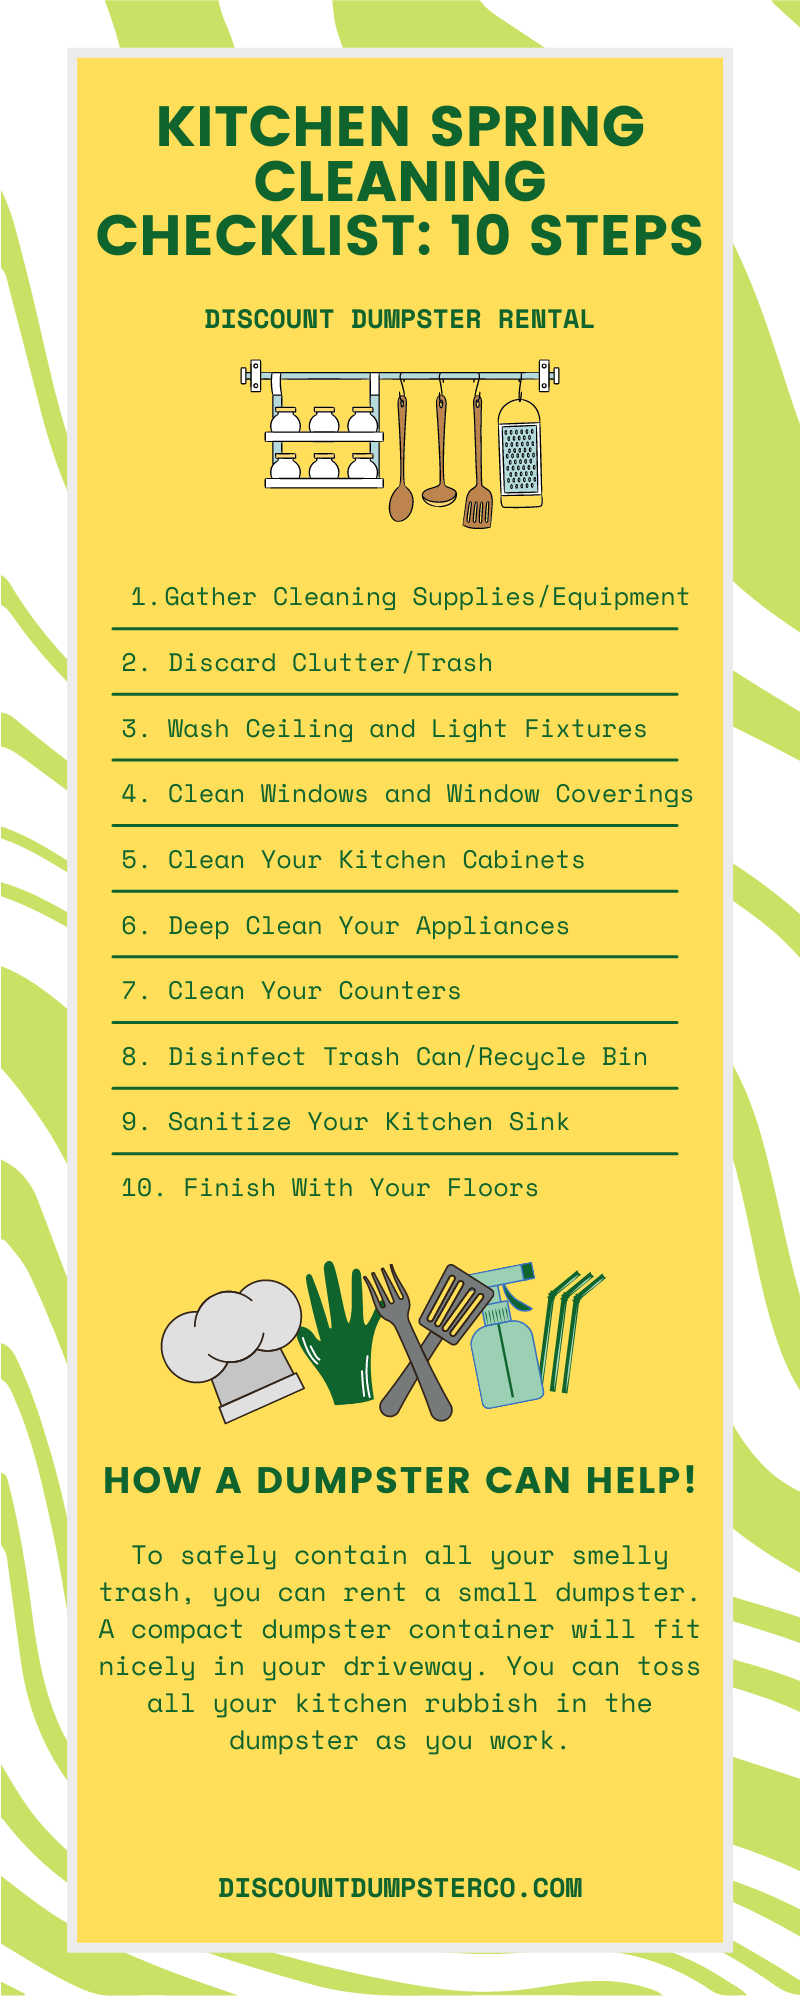
Credit: discountdumpsterco.com
Scrub The Sink And Faucets
Scrub the sink and faucets thoroughly to remove grime and stains. Use baking soda and vinegar for a sparkling finish. Regular cleaning keeps kitchen surfaces hygienic and looking new.
Cleaning the kitchen sink and faucets might not be the most exciting task, but it’s essential for maintaining a sparkling kitchen. A clean sink not only looks good but also prevents bacteria and mold buildup. Rolling up your sleeves and scrubbing away grime can transform your kitchen into a welcoming space.Gather Your Cleaning Supplies
Before you start, gather everything you need. You’ll need a scrub brush, sponge, baking soda, vinegar, and a microfiber cloth. Having everything ready will save you time and make the process smoother.Clear The Sink
Remove any dishes or food scraps from the sink. This gives you a clear space to work with. It’s amazing how much a clean sink can brighten your kitchen.Apply Baking Soda
Sprinkle baking soda over the entire sink area. Baking soda is an excellent natural cleaner that tackles stains and odors. Make sure to cover the sink thoroughly for the best results.Scrub With A Brush
Using a scrub brush, start scrubbing the sink in circular motions. Focus on areas with visible stains or grime. You’ll be surprised at how effective a little elbow grease can be.Add Vinegar For Extra Shine
Pour a small amount of vinegar over the baking soda. It will fizz and help lift off tough stains. Don’t you love a bit of kitchen chemistry?Rinse Thoroughly
Rinse the sink with warm water to wash away the baking soda and vinegar. Make sure no residue is left behind. A clean rinse leaves your sink gleaming.Wipe Down Faucets
Faucets can be a hotspot for water spots and bacteria. Use a microfiber cloth with a bit of vinegar to wipe them down. This will leave them shiny and sanitized.Pay Attention To The Drain
Don’t forget the drain! It often harbors unpleasant odors and bacteria. Use a toothbrush to scrub around the drain and rinse with hot water.Polish With A Dry Cloth
Once everything is clean, dry the sink and faucets with a clean cloth. This prevents water spots and keeps your sink looking perfect.Step Back And Admire
Take a moment to admire your work. Doesn’t it feel good to see a spotless sink? This simple act can make your kitchen feel refreshed and inviting. How often do you deep clean your sink and faucets? Making this a regular habit can keep your kitchen a healthier and happier place.Clean And Organize The Refrigerator
Cleaning and organizing the refrigerator is crucial for a hygienic kitchen. A tidy fridge helps keep food fresh and easily accessible. Discover easy steps to transform your refrigerator into a neat and efficient space.
Step 1: Empty The Refrigerator
Start by removing all items from the fridge. Place them on the counter for a quick inspection. Discard expired or spoiled food immediately.
Step 2: Clean Shelves And Drawers
Take out shelves and drawers. Wash them with warm, soapy water. Rinse thoroughly and dry them before placing back.
Step 3: Wipe Down Interior Surfaces
Use a damp cloth to wipe the fridge’s interior. Focus on walls, ceiling, and door. Remove stains and sticky spots.
Step 4: Check Temperature Settings
Ensure the fridge is set to the correct temperature. Optimal settings keep food fresh longer. Adjust if necessary.
Step 5: Organize Food Items
Group similar items together. Store dairy products on the top shelf. Keep meats in the coldest section. Place frequently used items within easy reach.
Step 6: Use Clear Containers
Use clear containers for leftovers and small items. They help you see contents at a glance. Label each container with the date.
Step 7: Arrange Condiments
Gather condiments and sauces on the fridge door. Arrange them by type or size. This makes grabbing your favorite sauce quick and easy.
Step 8: Utilize Drawers Efficiently
Store fruits and vegetables in designated drawers. Use the humidity controls if available. Keep different produce types separate for freshness.
Step 9: Maintain Regular Cleaning
Set a schedule for regular fridge cleaning. This keeps clutter at bay. A monthly deep clean helps preserve hygiene.
Step 10: Check Seals And Gaskets
Inspect door seals and gaskets for wear. Clean them with a damp cloth. Replace if damaged to ensure the fridge seals properly.
Deep Clean The Oven And Stove
Clean the oven and stove thoroughly to remove stubborn grime and grease. Start by wiping surfaces with a damp cloth. Use a gentle cleaner for tough spots, ensuring a sparkling finish.
Deep cleaning your oven and stove can feel like a daunting task, but it doesn’t have to be. Tackling this chore not only improves the aesthetics of your kitchen but also enhances your cooking experience. Imagine pulling out a perfectly baked pie from a spotless oven, or cooking a meal on a gleaming stove. Let’s break down the process into manageable steps.Preparation And Safety First
Before you dive in, gather your cleaning supplies. You’ll need rubber gloves, a non-abrasive scrubber, baking soda, vinegar, and a damp cloth. Safety is key—ensure your oven and stove are completely cool before starting.Remove And Soak Components
Take out the oven racks and stove grates. Soak them in warm, soapy water. This helps loosen built-up grime and makes scrubbing easier.Create A Cleaning Paste
Mix a half cup of baking soda with a few tablespoons of water. Aim for a spreadable paste consistency. This natural solution is effective for tackling stubborn stains.Apply The Paste
Spread the baking soda paste inside your oven and on the stovetop. Focus on areas with heavy grime. Let it sit overnight or at least 12 hours for the best results.Wipe Down Surfaces
Use a damp cloth to wipe away the baking soda paste. You might need to scrub gently in some areas. Notice how the stains lift away with minimal effort.Use Vinegar For Stubborn Spots
Spray vinegar on any remaining baking soda residue. The fizzing reaction helps lift stubborn spots. Wipe clean with a fresh cloth.Clean The Stove Burners
Check if your stove burners are removable. If so, clean them separately with a mixture of water and dish soap. Ensure they are completely dry before reattaching.Scrub The Oven Door
Don’t forget the oven door! Use the same baking soda paste to clean the inside of the door. A glass scraper can be helpful for any particularly tough spots.Reassemble And Final Touches
Once everything is clean and dry, reassemble the oven racks and stove grates. Give your stove a final polish with a damp cloth for that extra shine.Enjoy Your Clean Kitchen
Step back and admire your work. A clean oven and stove not only look great but can also improve your cooking results. Ready to bake your favorite dish? Have you ever felt the difference a clean stove makes in your cooking? Share your experiences or tips in the comments below!Wipe Down Small Appliances
Small appliances are often overlooked during regular cleaning routines. Yet, they gather dust, grease, and grime over time. Deep cleaning your kitchen means giving these handy helpers the attention they deserve. Wiping down small appliances not only maintains their appearance but also extends their lifespan. It ensures they function efficiently and safely.
Let’s dive into the steps to achieve a spotless finish. Your kitchen will thank you for it.
Gather Your Cleaning Supplies
Start by collecting all necessary supplies. Use a soft cloth, mild detergent, and a bucket of warm water. A gentle scrub brush can help with stubborn spots. Avoid harsh chemicals that might damage appliance surfaces.
Unplug And Disassemble
Ensure safety by unplugging each appliance. Remove any detachable parts, such as trays or blades. This allows for a thorough cleaning of each component.
Wipe The Exterior
Dip your cloth in soapy water and wring it out well. Gently wipe the outside surfaces of the appliances. Pay special attention to handles and knobs. These areas often harbor the most grime.
Clean Detachable Parts
Wash removable parts separately in warm, soapy water. Use a brush for scrubbing hard-to-reach areas. Rinse them thoroughly and let them air dry. Ensure they are completely dry before reassembling.
Focus On Crevices
Use a toothbrush or cotton swab for tiny crevices. These tools can remove trapped dirt in small spaces. Pay close attention to seams and edges. These spots often collect hidden grime.
Inspect Cords And Plugs
Check cords and plugs for any signs of wear. Wipe them gently with a damp cloth. Make sure they are dry before reconnecting.
Polish Stainless Steel
Use a stainless-steel cleaner for a shiny finish. Apply in the direction of the grain. This prevents streaks and enhances the appliance’s look.
Reassemble And Plug In
Once all parts are dry, reassemble the appliances. Plug them back in and ensure everything is functioning well. Enjoy the fresh look and feel of your clean appliances.
Regular Maintenance
Incorporate regular cleaning into your routine. Wipe down appliances weekly to prevent heavy buildup. This keeps your kitchen environment healthy and inviting.
Sanitize The Trash Can
Cleaning the trash can reduces kitchen odors and germs. Use warm soapy water and a scrub brush. Rinse thoroughly and let it dry.
When you think about deep cleaning your kitchen, the trash can might not be the first thing that comes to mind. However, it’s a hotspot for germs and odors. Taking the time to sanitize the trash can can make a significant difference in the cleanliness and freshness of your kitchen. Plus, a clean trash can helps prevent those unpleasant odors from wafting through your home. Let’s dive into how you can effectively sanitize your trash can.Gather Your Supplies
Begin by collecting everything you’ll need: rubber gloves, a scrubbing brush, disinfectant spray, and some paper towels or a clean cloth. Having everything at hand makes the process quicker and more efficient. This also saves you from unnecessary trips back and forth, keeping your momentum going.Empty The Trash Can
Before you start cleaning, make sure the trash can is completely empty. Remove the trash bag and dispose of it properly. This ensures you have a clean slate to work with, allowing you to focus entirely on sanitizing the container.Rinse The Trash Can
Take the trash can outside or to a bathtub. Use a hose or showerhead to rinse it thoroughly with water. This helps remove any loose debris or residue, making the cleaning process more effective.Scrub With Soap
Put on your gloves and apply some dish soap to your scrubbing brush. Scrub the inside and outside of the trash can, paying attention to any stubborn spots. This step helps break down grease and grime, making your trash can look and smell better.Disinfect Thoroughly
Spray a generous amount of disinfectant inside the trash can. Let it sit for the recommended amount of time on the label to kill germs effectively. This is crucial for ensuring that your trash can is not just clean, but also safe from harmful bacteria.Rinse Again
After disinfecting, rinse the trash can thoroughly with water. This removes any leftover soap and disinfectant residue. Make sure to rinse well, so no chemicals are left behind that could potentially harm your pets or young children.Dry Completely
Use paper towels or a clean cloth to dry the trash can. Alternatively, let it air dry in the sun, which can also help eliminate odors naturally. Ensuring the trash can is dry prevents mold and mildew from forming.Deodorize
Once dry, sprinkle some baking soda at the bottom of the trash can before inserting a new liner. This simple trick helps absorb future odors, keeping your kitchen smelling fresh. It’s a small step that can make a big difference in maintaining a pleasant atmosphere.Line The Trash Can
Place a new trash bag inside the can. Consider using scented bags for an added layer of freshness. It’s these little touches that can make taking out the trash a more pleasant task.Maintain Regularly
Regular maintenance is key to keeping your trash can sanitary. Aim to sanitize it at least once a month. Doing so will keep unpleasant smells at bay and ensure your kitchen remains a clean, welcoming space. Do you find yourself ignoring the trash can during your cleaning routine? Taking a few minutes to sanitize it can transform the overall cleanliness of your kitchen. Try it out and notice the difference!Mop The Floors
Mopping the floors is an essential step in deep cleaning your kitchen. Use a mild detergent and warm water to remove grime and stains. Focus on corners and under appliances for a thorough clean.
Mopping the floors is one of those tasks that can completely transform your kitchen. It’s not just about making it look clean; it’s about creating a fresh and inviting space. When you take the time to mop the floors properly, you ensure that your kitchen not only sparkles but also feels like a hygienic haven. Here’s how you can make your kitchen floors shine without spending an entire day doing it.Choose The Right Mop
Selecting the right mop is crucial. A flat mop with a microfiber pad can trap dirt more effectively than a traditional string mop. It’s also easier to maneuver around corners and under cabinets.Use A Suitable Cleaning Solution
Not all floors are created equal. If your kitchen has hardwood floors, use a cleaner specifically designed for wood. For tile or linoleum, a general-purpose floor cleaner will work wonders.Prep The Floor
Before you even think about mopping, sweep or vacuum the floors to remove loose dirt and debris. This step prevents scratching and makes mopping more effective.Work In Sections
Divide your kitchen into sections and tackle one at a time. This ensures you don’t miss any spots and allows the floor to dry more quickly. It’s a strategy that helps you focus and see immediate progress.Mind The Corners
Corners often get neglected. Use the edge of your mop or a small brush to reach into tight spots. A little extra effort here can make a big difference in the overall look.Rinse The Mop Frequently
A dirty mop spreads grime rather than cleaning it. Rinse the mop regularly in a bucket of clean water to avoid this. It may seem tedious, but it keeps your floors genuinely clean.Dry The Floor
After mopping, use a dry cloth or a dry mop to remove excess water. This step helps prevent slipping and ensures that your floors dry streak-free.Ventilate The Area
Open a window or turn on a fan to help the floors dry faster. Proper ventilation not only speeds up drying time but also eliminates the smell of cleaning products.Inspect Your Work
Once the floor is dry, give it a once-over to spot any areas you might have missed. This inspection allows you to address any overlooked spots immediately.Regular Maintenance
Mopping should not be a once-in-a-blue-moon activity. Regular maintenance keeps your floors looking their best and makes deep cleaning days less daunting. Consider setting a schedule that suits your lifestyle. Mopping might seem straightforward, but approaching it with the right strategy can elevate the cleanliness of your entire kitchen. What surprises you most about your kitchen floor once it’s freshly mopped?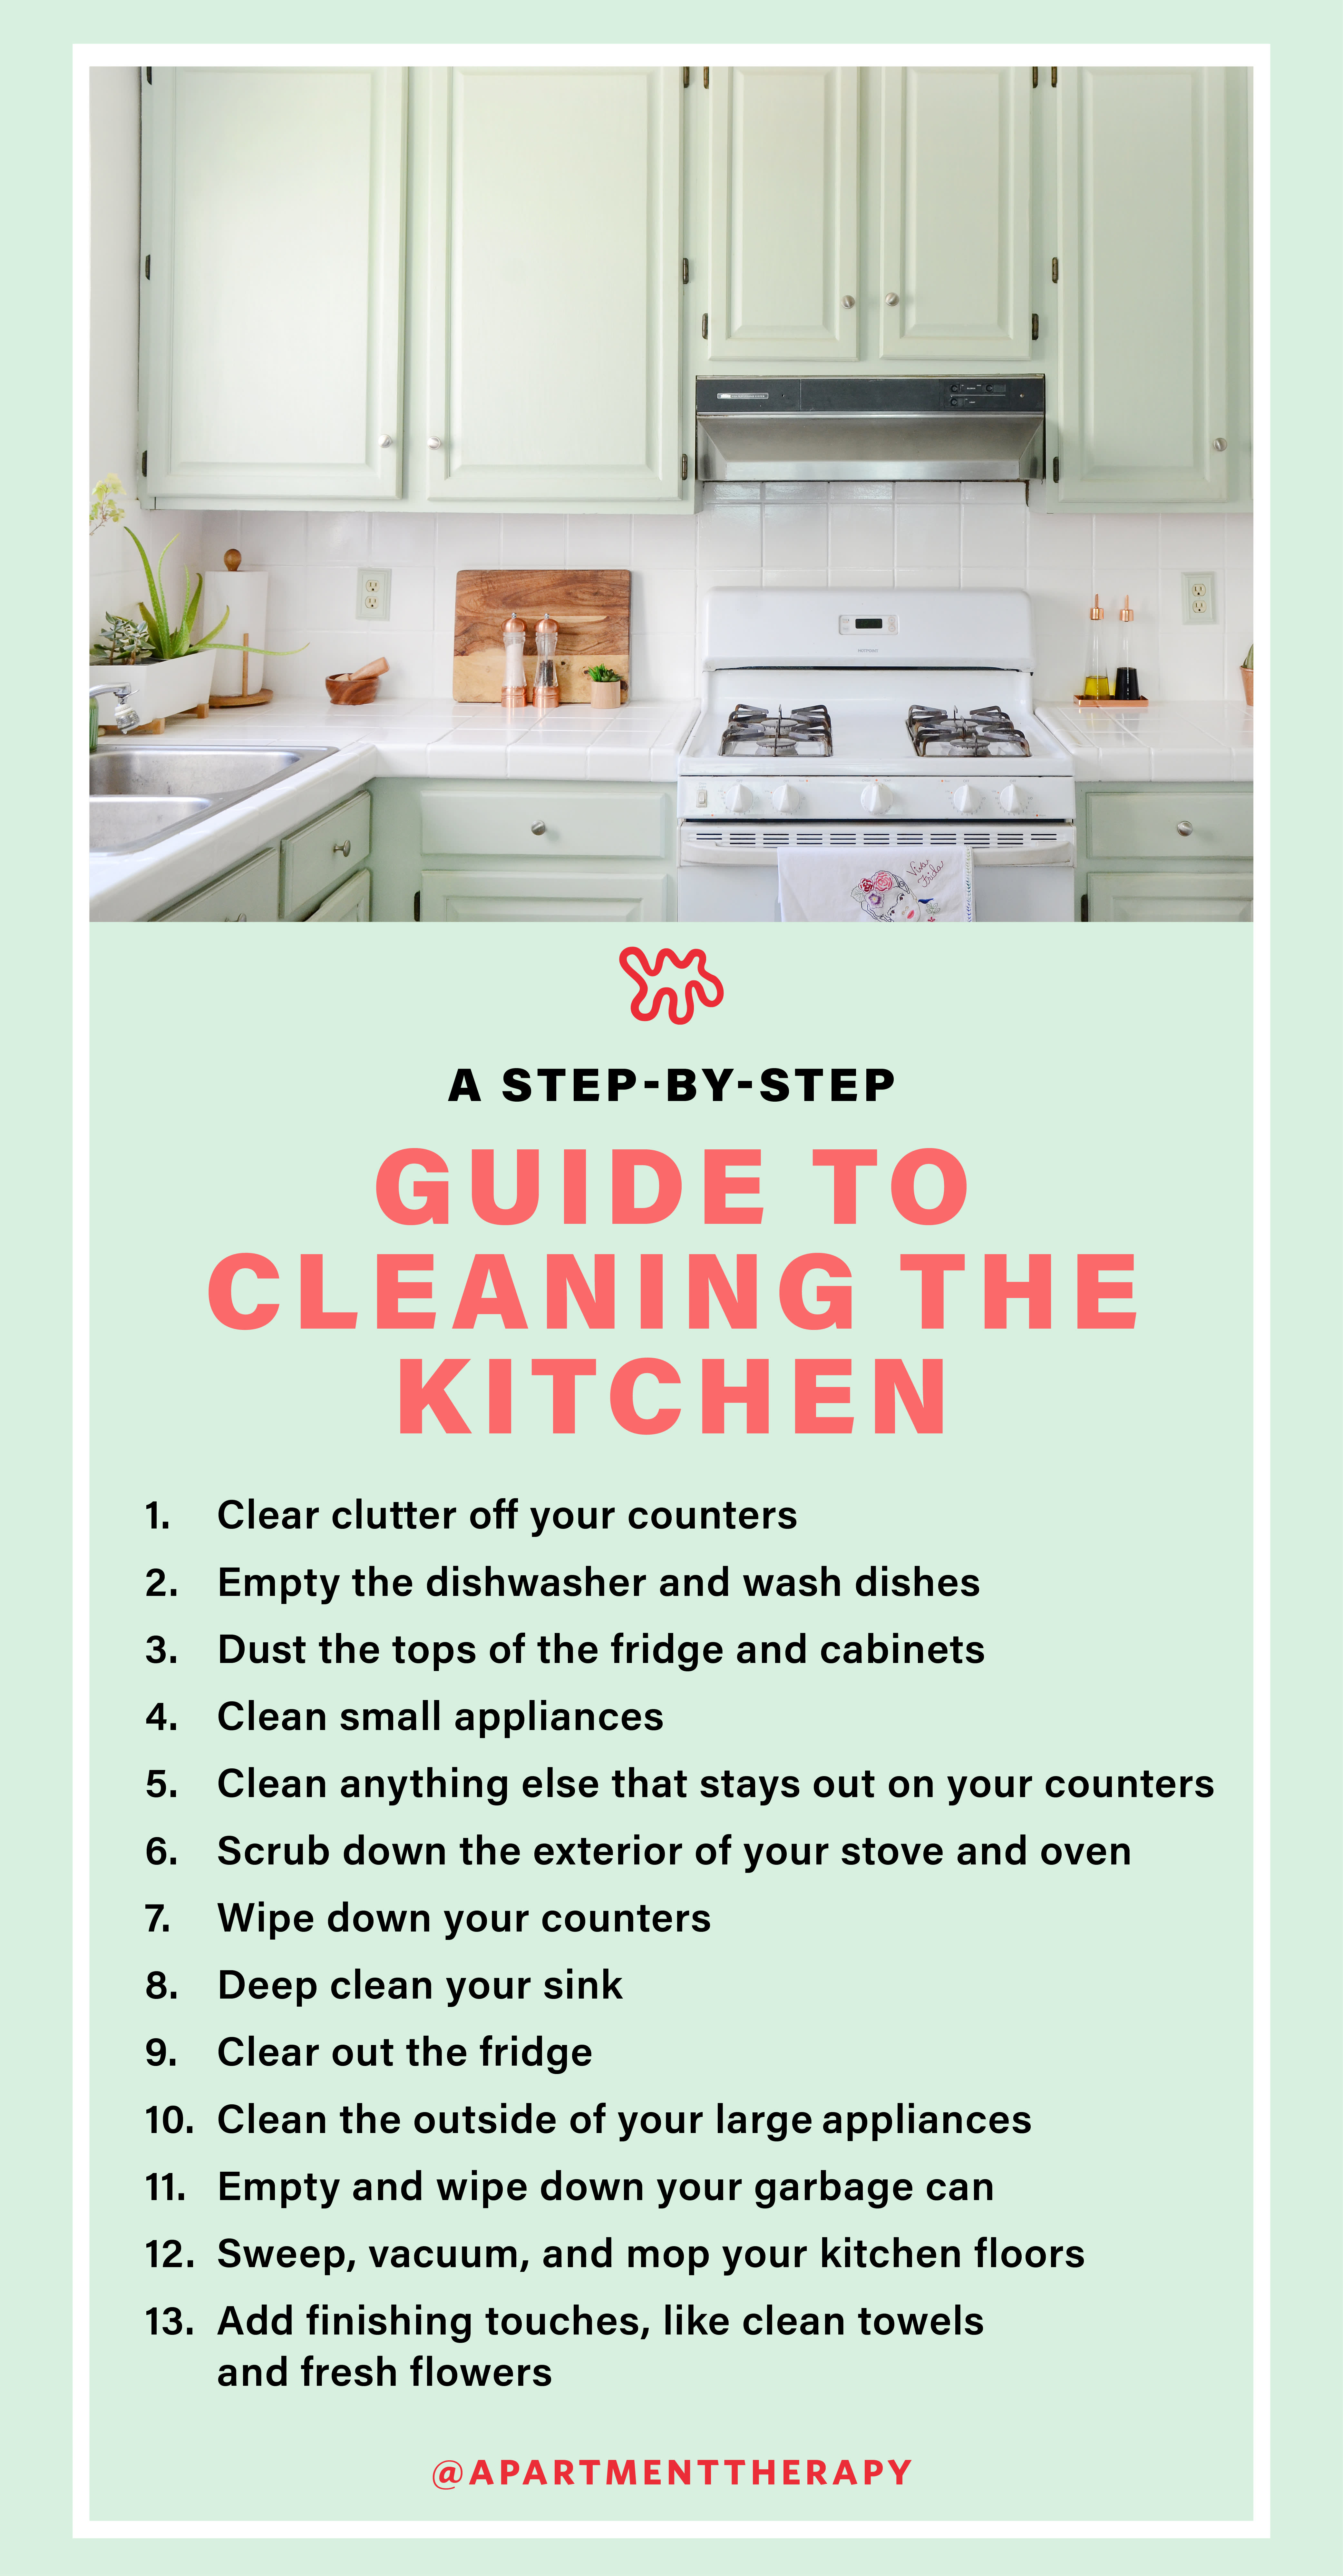
Credit: www.apartmenttherapy.com
Polish Cabinets And Hardware
Discover effective methods to deep clean your kitchen in 10 steps. Achieve spotless polish cabinets and hardware effortlessly. Transform your kitchen into a fresh, hygienic space.
Polishing cabinets and hardware brings a fresh look to your kitchen. Grime and dirt often accumulate on these surfaces. Cleaning them enhances the kitchen’s overall appeal. Following a systematic approach ensures no spots are missed. Let’s dive into the steps to polish your cabinets and hardware effectively.Gather Your Supplies
First, gather all necessary cleaning supplies. Use a mild detergent and a soft cloth. Microfiber cloths work best for this task. They effectively remove dirt without scratching surfaces.Remove Items From Cabinets
Clear out all items from your cabinets. This makes cleaning easier and more thorough. Place items on a nearby countertop or table.Dust Off The Surfaces
Dust off the cabinet surfaces using a dry cloth. This helps to remove loose dirt. A clean surface ensures better polishing results.Prepare Your Cleaning Solution
Mix mild detergent with warm water. Avoid harsh chemicals that might damage wood or metal. Ensure the solution is gentle yet effective.Wipe Down The Cabinets
Dip your cloth into the cleaning solution. Wring out excess water to avoid drips. Wipe the cabinet surfaces gently and thoroughly.Focus On Hardware
Use a small brush for intricate hardware details. An old toothbrush works well. This helps to clean around knobs and hinges effectively.Dry The Surfaces
Use a dry cloth to wipe down wet surfaces. Ensure all areas are completely dry. This prevents moisture damage and spotting.Apply Polish
Apply a suitable wood or metal polish. Use a clean cloth for this step. Follow the polish instructions for best results.Buff The Cabinets
Buff the cabinets in small circular motions. This enhances the shine and removes any streaks. Take your time for a perfect finish.Reorganize The Cabinets
Place items back into the cabinets neatly. Consider organizing them for easy access. A clean and organized kitchen is more functional.Frequently Asked Questions
What Is The Best Way To Start Deep Cleaning?
Begin with decluttering your kitchen. Clear counters. Remove unnecessary items. This makes cleaning easier and faster.
How Often Should You Deep Clean Your Kitchen?
Deep clean your kitchen every three to six months. Regular cleaning keeps your kitchen hygienic and fresh.
What Tools Do You Need For Kitchen Deep Cleaning?
Use basic tools like scrub brushes, sponges, and microfiber cloths. They help remove grime and make surfaces shine.
How Can You Make Cleaning Kitchen Appliances Easier?
Unplug appliances before cleaning. Use mild detergents. Wipe thoroughly. This prevents damage and keeps appliances clean.
Conclusion
Deep cleaning your kitchen can seem overwhelming. But it’s manageable. Follow the 10 steps carefully. You will achieve great results. A clean kitchen looks fresh and inviting. It also promotes health and safety. Regular deep cleaning prevents stubborn stains and odors.
This routine saves time in the long run. Keep your cleaning supplies handy. Consistency is key. Enjoy a spotless kitchen that feels brand new. Remember, a clean space inspires better cooking. Now, maintain this habit. Your kitchen will thank you!

Yes, working as , Food Blogger and Product Reviewer for last 6 years. Here you will get amazing deals for Smart kitchen products. I am your best source for the latest update in cooking trends. I provide insightful articles, reviews, and analysis on cutting-edge kitchen gadget. My mission is to empower readers with the knowledge they need to stay ahead in a rapidly evolving coking world. Join me as we explore the future of food technology and how it shapes our lives today and tomorrow.