Are you ready to transform your kitchen with cabinets that fit your space perfectly and reflect your personal style? Building your own kitchen cabinets might sound challenging, but with the right guidance, you can create beautiful, custom storage that saves you money and boosts your home’s value.
Imagine having full control over every detail—from choosing the wood to deciding the finish—making your kitchen truly one of a kind. Whether you’re a beginner or have some woodworking experience, this step-by-step guide will walk you through the entire process, helping you avoid common mistakes and achieve professional-looking results.
Keep reading, and you’ll discover how to turn your kitchen dreams into reality with cabinets you built yourself.

Planning Your Cabinets
Start by measuring your kitchen space carefully. Measure the length, width, and height of the area where cabinets will go. Write down these numbers to avoid mistakes. Double-check measurements to ensure accuracy. This helps in planning the right size for your cabinets.
Next is choosing cabinet styles. Decide on the look you want. Options include modern, traditional, or rustic styles. Pick a style that matches your kitchen’s design. This creates a nice, matching look in your space.
Finally, focus on selecting materials and hardware. Common materials are wood, plywood, or MDF. Choose based on durability and budget. Hardware like handles and hinges should match your cabinet style. Good hardware makes cabinets easier to use and lasts longer.
Gathering Tools And Supplies
Gathering the right tools and supplies is key to building kitchen cabinets. Essential woodworking tools include a circular saw, drill, measuring tape, clamps, and a sander. These help cut, join, and finish the wood precisely.
A materials checklist should cover quality plywood or hardwood, wood glue, screws, hinges, and cabinet handles. Choosing strong, reliable materials ensures the cabinets last long.
Safety equipment is a must. Use goggles, ear protection, and dust masks to protect your eyes, ears, and lungs. Gloves help avoid splinters and cuts.
Cutting And Preparing Wood
Start by measuring each wood panel carefully. Use a pencil and ruler to mark the cut lines clearly. Double-check measurements to avoid mistakes. Precision is key for a good fit.
Use a sharp saw to cut along the marked lines. Straight cuts make assembly easier. For curved edges, a jigsaw works best. Take your time to keep cuts clean and accurate.
After cutting, sand all surfaces with medium-grit sandpaper. Smooth edges help prevent splinters and improve finish adhesion. Sand until the wood feels smooth to touch. Wipe off dust before assembly.

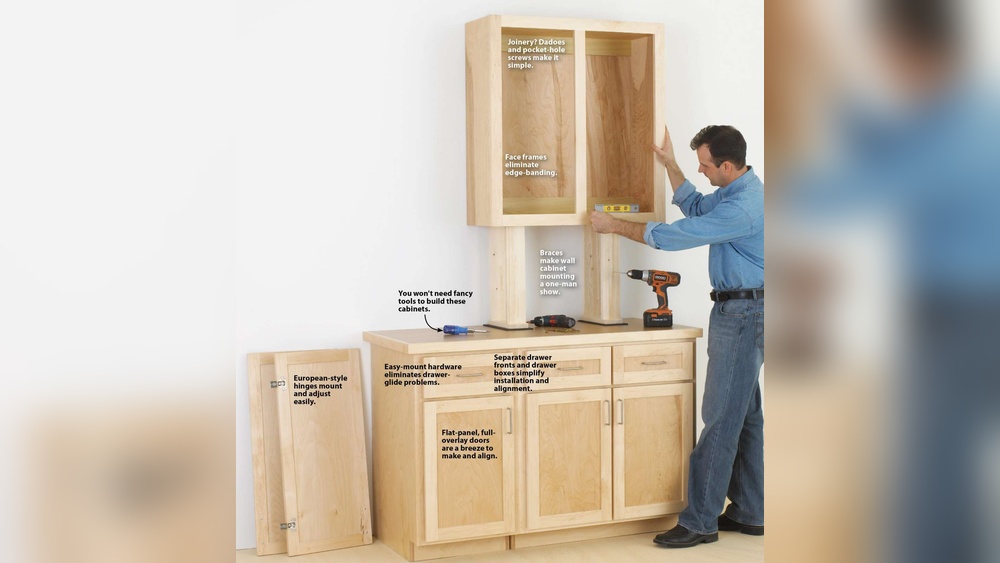
Assembling The Cabinet Box
Joining side panels starts by aligning them carefully. Use clamps to hold panels tight. Drill pilot holes to avoid wood splitting. Secure panels with screws or nails for strong joints.
Attaching bottom and top panels comes next. Place the bottom panel between side panels. Check for flush edges and attach with screws. Repeat for the top panel, ensuring it fits snugly.
Check the cabinet’s shape often. Use a carpenter’s square to ensure the box is square. Measure diagonals; both sides must be equal. Adjust clamps if needed to keep everything level and true.
Building Doors And Drawers
Constructing cabinet doors begins with selecting quality wood or plywood. Cut pieces to size and join edges smoothly. Use a router to create grooves for panels. Assemble frames carefully with glue and clamps. Sand surfaces for a neat finish. Painting or staining protects the wood and adds style.
Making drawer boxes requires precise measuring and cutting of side panels, front, back, and bottom. Join parts using nails or screws. Apply wood glue for extra strength. Sand edges to avoid splinters. Choose drawer bottom material that fits securely inside the frame.
Fitting drawer slides and hinges involves attaching metal slides to drawer sides and cabinet interior. Align parts evenly for smooth movement. Install hinges on doors with screws, adjusting tension if needed. Test doors and drawers to ensure they open and close properly without sticking.
Finishing Touches
Applying paint or stain gives cabinets their final look. Choose paint for a smooth, bright finish. Stain shows the wood’s natural beauty. Use a brush or cloth for even coverage. Let each coat dry fully before adding another.
Sealing and protecting surfaces helps cabinets last longer. Use a clear sealer or varnish. It guards against water, stains, and scratches. Apply thin coats and allow drying time between layers. Sand lightly for a smooth finish.
| Hardware Installation Steps |
|---|
| Pick handles or knobs that match your style. |
| Measure and mark spots carefully for holes. |
| Drill holes with the right size bit. |
| Attach hardware using screws and a screwdriver. |
| Check that all pieces are secure and aligned. |
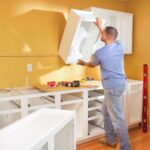
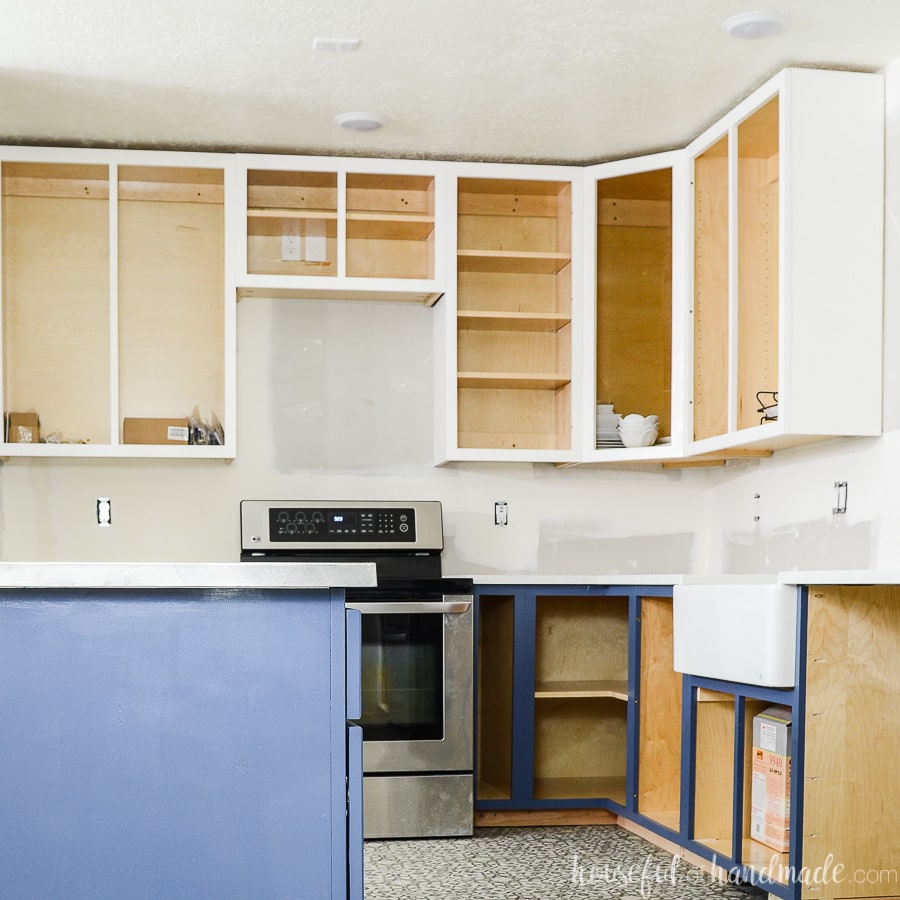
Installing Cabinets In Your Kitchen
Start by cleaning and smoothing the wall. Remove nails or screws. Check for any holes and fill them. Make sure the wall is level and strong enough to hold cabinets. Use a stud finder to mark where the wall studs are. This will help in mounting cabinets securely.
Use a drill to make pilot holes in the cabinet backs. Align the cabinet with the wall studs. Secure the cabinet using strong screws into the studs. Tighten screws slowly to avoid damage. Check that the cabinet is firm and safe.
After mounting, use a level to check alignment. Adjust the cabinet by loosening screws slightly and shifting it. Tighten screws again once the cabinet is straight. Repeat for all cabinets to keep them even and neat.
Common Challenges And Tips
Avoiding common mistakes is key to successful cabinet building. Measure twice, cut once. Mistakes waste wood and time. Use quality materials to ensure durability. Assemble parts carefully to avoid alignment problems. Always check for square corners to keep cabinets even.
Time management strategies help keep the project on track. Plan each step before starting work. Break tasks into smaller parts. Set realistic goals for each day. Avoid rushing to reduce errors. Taking breaks can keep focus sharp.
Improving woodworking skills makes cabinet building easier and more fun. Practice basic cuts and joints on scrap wood. Watch videos or read guides for new techniques. Use sharp tools for cleaner cuts. Ask for advice from experienced woodworkers when stuck. Practice builds confidence and improves results.
Cost And Time Considerations
Budgeting for materials and tools is key. Basic wood, screws, hinges, and handles add up quickly. Investing in quality tools like saws and drills can save time and frustration. Expect to spend more if buying new tools.
Estimating project time depends on skill and cabinet size. Small projects may take a few weekends. Larger kitchens can require several weeks. Patience is important to avoid mistakes.
When to consider professional help:
- If unsure about measurements or cuts.
- When lacking proper tools.
- If time is limited or deadlines are tight.
- For complex cabinet designs or installations.
Alternative Options
Ready-to-assemble (RTA) cabinets offer a simple way to get kitchen storage. They come in flat boxes that you build at home. This option saves time and often costs less than custom cabinets.
Modifying stock cabinets means changing pre-made units to fit your space. You can add paint, new doors, or extra shelves. This is a quick way to get a custom look without full building.
| Option | Pros | Cons |
|---|---|---|
| Hiring Professionals | Expert work, saves time, quality finish | Higher cost, less control over design |
| DIY | Lower cost, full control, personal satisfaction | Requires skills, time-consuming, possible mistakes |
Frequently Asked Questions
Is It Cheaper To Build Your Own Kitchen Cabinets?
Building your own kitchen cabinets can be cheaper if you have tools, skills, and time. It saves on labor and material costs but requires effort and precision. Mistakes or lack of experience may increase expenses. Consider ready-to-assemble cabinets as a cost-effective alternative.
Can A Beginner Build Cabinets?
Yes, beginners can build cabinets by following simple plans and tutorials. Start with basic tools and practice measuring and cutting accurately. Patience and attention to detail help achieve good results. Learning woodworking skills gradually improves cabinet-building confidence and quality.
What Kind Of Wood To Use To Build Cabinets?
Hardwoods like maple, oak, cherry, and birch provide durability and a smooth finish for cabinets. Plywood offers strength and resistance to warping. Choose wood based on style, budget, and durability needs to ensure long-lasting cabinets.
What Are The Three Basic Methods Of Cabinet Construction?
The three basic cabinet construction methods are frameless, face-frame, and inset. Frameless cabinets use full panels. Face-frame cabinets include a front frame. Inset cabinets have doors set flush within the frame. Each method offers distinct benefits for durability and style.
Conclusion
Building kitchen cabinets takes patience, time, and careful work. Follow each step slowly to avoid mistakes. Choose materials that fit your kitchen and budget well. Measure everything twice before cutting any wood. Use the right tools to make the process easier.
Custom cabinets add value and style to your home. With practice, your skills will improve greatly. Enjoy the satisfaction of making your own cabinets. This project can save money compared to buying ready-made ones. Keep safety in mind while working with tools.
Your kitchen will look better with cabinets you built yourself.

Yes, working as , Food Blogger and Product Reviewer for last 6 years. Here you will get amazing deals for Smart kitchen products. I am your best source for the latest update in cooking trends. I provide insightful articles, reviews, and analysis on cutting-edge kitchen gadget. My mission is to empower readers with the knowledge they need to stay ahead in a rapidly evolving coking world. Join me as we explore the future of food technology and how it shapes our lives today and tomorrow.